uxf-tutorial
Part 5 - Implementing UXF
Importing UXF
Now we are finally ready to import UXF and turn our simple task into an experiment. Follow the instructions on the UXF project page to download the UXF Unity package. To import it, just drag the package file to the project window, and click import when the import window pops up.
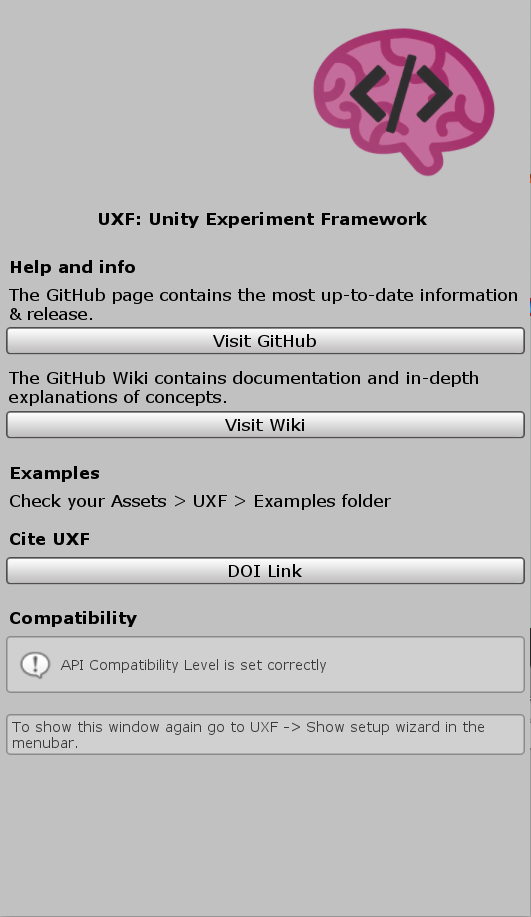
When importing, the UXF wizard should pop up to help get you started. (If not, at the menu bar at the top, go to UXF -> Show setup wizard.) In the wizard, click “fix” to apply some settings to your Unity project that are required for UXF to work properly.
Testing it out
Let’s first open a UXF example scene to check everything is working. In your Project, open the UXF folder -> Examples -> 2_MoveToTarget -> MoveToTargetExample.unity scene. We can press start and will be shown the UXF Startup UI. First, click Create Participant List and put it in a folder on your PC (I made a folder called uxf_data on my desktop). It will create a participant list there and all data will be stored next to this list. You can read more about the UXF UI here.
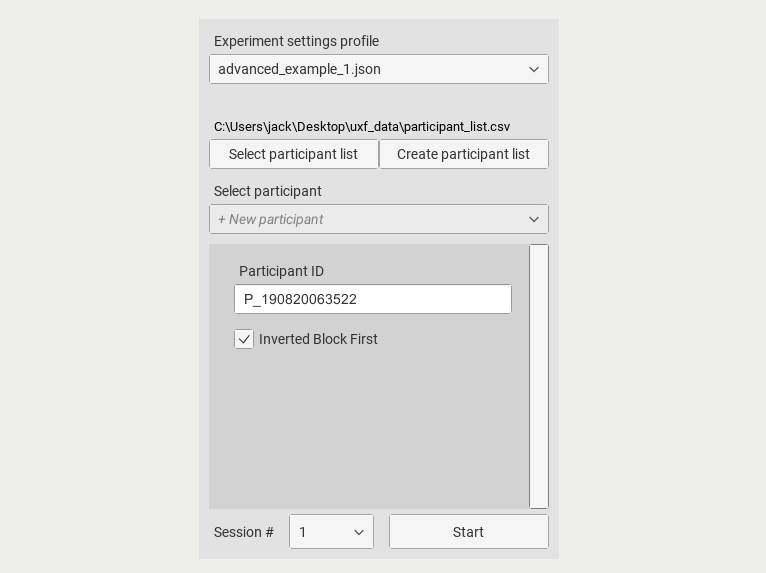
Press start to begin the experiment session:

Now check inside the newly created folder next to the participant list - there should be data output for the Session we just ran. (I ended it after 3 trials.)

Integration
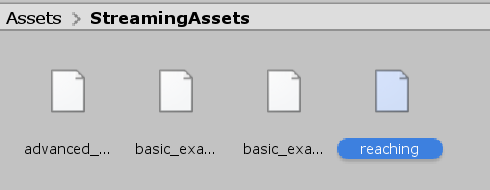
Let’s re-open our task scene. We want to add UXF functionality so we can use it to record any variables we measure, and manipulate our independent variables. First thing to do is import the [UXF_Rig] prefab into the scene. This is a pre-built GameObject that contains lots of the UXF functionality we need. Just drag [UXF_Rig] from the UXF -> Prefabs folder into the hierarchy. Firstly, we want to create a new experiment settings profile. These are .json files that live in the StreamingAssets folder of our project (which means Unity can read them directly even when built to an .exe). An empty .json file is provided called my_experiment. We can just rename this to the name of our experiment (e.g. reaching).
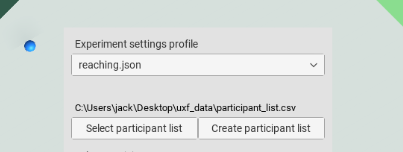
Now to make sure the other experiments aren’t shown in the dropdown menu of the UI, open the [UXF_UI] GameObject (a child of the [UXF_Rig] GameObject), and edit the Settings Search Pattern field to be reaching*.json. This means it will only show settings profile files that start with reaching and end with .json.

Start the game and we should see it show up in the UI.
The first thing we need to do is pre-generate a set of blocks and trials with any associated settings. You can read more examples of the process here. We will write a simple script that creates one block with 10 trials just to get us started. We will write a new script called ExperimentGenerator. New things here are that we should add the UXF namespace (using UXF) at the top, which gives us access to UXF functions.
using System.Collections;
using System.Collections.Generic;
using UnityEngine;

// add the UXF namespace
using UXF;

public class ExperimentGenerator : MonoBehaviour
{
    // generate the blocks and trials for the session.
    // the session is passed as an argument by the event call.
    public void Generate(Session session)
    {
        // generate a single block with 10 trials.
        int numTrials = 10;
        session.CreateBlock(numTrials);
    }
}
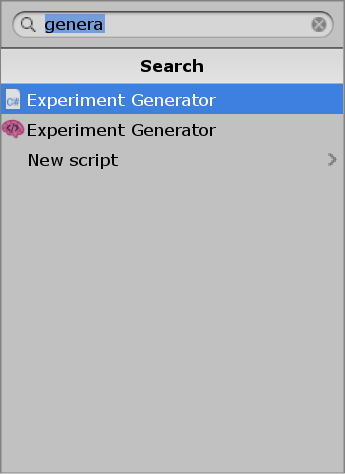
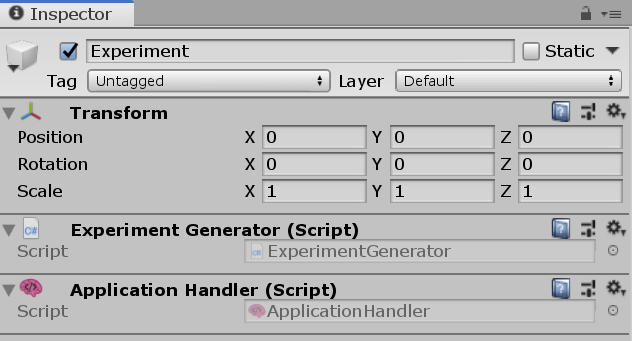
We need to attach this script to a GameObject. Remember even if a system has no physical presence in a scene, it needs to be a part of a GameObject. Let’s create an empty GameObject in our hierarchy and call it “Experiment” to represent our experiment functionality. It’s position doesn’t really matter. Then we can attach our new ExperimentGenerator script to this GameObject as a component.
Note: Don’t get confused with the example script called ExperimentGenerator - the example scripts have the little brain UXF icon. We need the one with the default C# icon.
Now we need a means of running our Generate() method. UXF uses Unity Events to allow users to define what happens at different stages of the experiment. In our case, we need to generate the trials when the Session begins. So we can tell UXF to run our Generate function when the session begins. To do this, click the [UXF_Rig] GameObject in the hierarchy. In the Session component, you will see the On Session Begin (Session) event. We need to click the plus, then drag our Experiment over to this event and select our Generate method (see below).
What does “On Session Begin (Session)” mean? On Session Begin is the name of the event, “Session” in braces tells us that any method that is called by this event (in our case, our Generate method) is passed a reference to the session. That means we can access our UXF session methods (such as CreateBlock(), etc).
See a diagram of the UXF events here.
Starting and stopping a trial
Now we have a method that creates 10 trials, we need to tell UXF when to start and stop a trial. A trial should begin when the StartPoint turns green, and a trial should end when we collect the Target. So we just need a few easy modifications to our StartPointController and TargetController scripts to account for this.
StartPoint modifications
Try to perform these steps without copy and pasting the final script below.
- Add the UXF namespace.
- Add a new field
public Session session. - Modify the
ifcondition to only start the countdown if we are not currently in a trial (& !session.InTrial) - At the same time the start point turns green, tell UXF to begin the next trial in the session.
Here’s the final script, see the comments that say “new”.
using System.Collections;
using System.Collections.Generic;
using UnityEngine;

// add the UXF namespace
using UXF; // <-- new

public class StartPointController : MonoBehaviour
{
    // reference to the UXF Session - so we can start the trial.
    public Session session; // <-- new

    // define 3 public variables - we can then assign their color values in the inspector.
    public Color red;
    public Color amber;
    public Color green;

    // reference to the material we want to change the color of.
    Material material;

    /// Awake is called when the script instance is being loaded.
    void Awake()
    {
        // get the material that is used to render this object (via the MeshRenderer component)
        material = GetComponent<MeshRenderer>().material;
    }

    IEnumerator Countdown()
    {
        yield return new WaitForSeconds(0.5f);
        material.color = green;
        session.BeginNextTrial(); // <-- new
    }

    /// OnTriggerEnter is called when the Collider 'other' enters the trigger.
    void OnTriggerEnter(Collider other)
    {
        // only do something when we are NOT currently in a trial.
        if (other.name == "Cursor" & !session.InTrial) // < -- new
        {
            material.color = amber;
            StartCoroutine(Countdown());
        }
    }

    /// OnTriggerExit is called when the Collider 'other' has stopped touching the trigger.
    void OnTriggerExit(Collider other)
    {
        if (other.name == "Cursor")
        {
            StopAllCoroutines();
            material.color = red;
        }
    }
}
Don’t forget to assign the session reference in the inspector!

TargetController modifications
Steps for this script
- Add the UXF namespace.
- Add a new field
public Session session. - Make the GameObject inactive when the task begins (shouldn’t be visible until trial begins).
- Make the current trial end when the Cursor touches it.
Final script:
using System.Collections;
using System.Collections.Generic;
using UnityEngine;

// add the UXF namespace
using UXF; // <-- new

public class TargetController : MonoBehaviour
{
    // reference to the UXF Session - so we can end the trial.
    public Session session; // <-- new

    // reference to the AudioClip we want to play on trigger enter.
    public AudioClip collectSound;

    void Start() // <-- new
    {
        // disable the whole GameObject immediately
        gameObject.SetActive(false); // <-- new
    }

    /// OnTriggerEnter is called when the Collider 'other' enters the trigger.
    void OnTriggerEnter(Collider other)
    {
        if (other.name == "Cursor")
        {
            // disable the whole GameObject
            gameObject.SetActive(false);

            // play the collect sound (at the same position as the target, 100% volume)
            AudioSource.PlayClipAtPoint(collectSound, transform.position, 1.0f);

            // end current trial
            session.EndCurrentTrial(); // <-- new
        }
    }
}
Once again assign the session reference in the inspector as we did above!
Make the Target appear
The final thing to add is to make the Target re-appear on trial begin. We can easily do this by calling the GameObject’s SetActive method in the Session On Trial Begin event. (Tick the checkbox to indicate turning ON, not OFF).
Note: As of a UXF update in 2020, the events here have a reorderable feature.
Remember you can do anything you want on trial begin - it could be making something appear, playing a sound, or anything your experiment needs. Just assign method to the event and have UXF do the work for you.
Testing it out now should mean everything works - you can see in the UXF Info Bar at the bottom the trial number increasing as we touch the Target over and over again. However, we will get a NoSuchTrialException after 10 trials. That’s because our StartPoint is trying to begin the next trial, but one doesn’t exist!
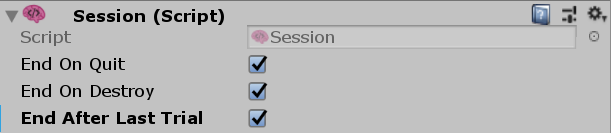
Ending on last trial
When we have completed out 10 trials, we want the session to end. Ending the session writes all collected data to the hard drive. In the UXF session component ([UXF_Rig]) there is a checkbox for End After Last Trial. Enable it.
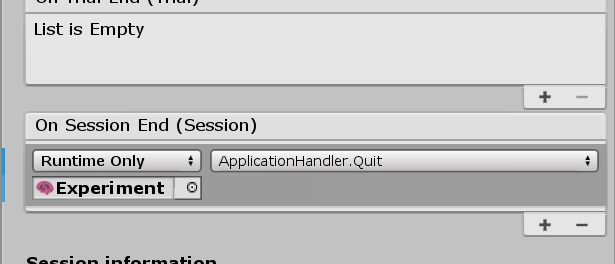
That will only end the UXF Session - it won’t end the task. We might want to show a thank-you message or do something else after the session has completed, but for now we will just end the task. UXF has a script that can do this - add the ApplicationHander component to your Experiment GameObject. Then assign it’s Quit() method in the On Session End event in the Session inspector.
Tracking the cursor position
We also want a log of the cursor’s position within each trial, for extra movement analyses. We can do that very easily in UXF. Just select our Cursor and add the UXF component called Position Rotation Tracker.
![]()
Then assign this reference to the Tracked Objects list so UXF knows about it. If you aren’t familiar with the Unity inspector you must change the list size then assign the empty field to our Cursor.
Note: As of a UXF update in 2020, the lists here have a reorderable feature.
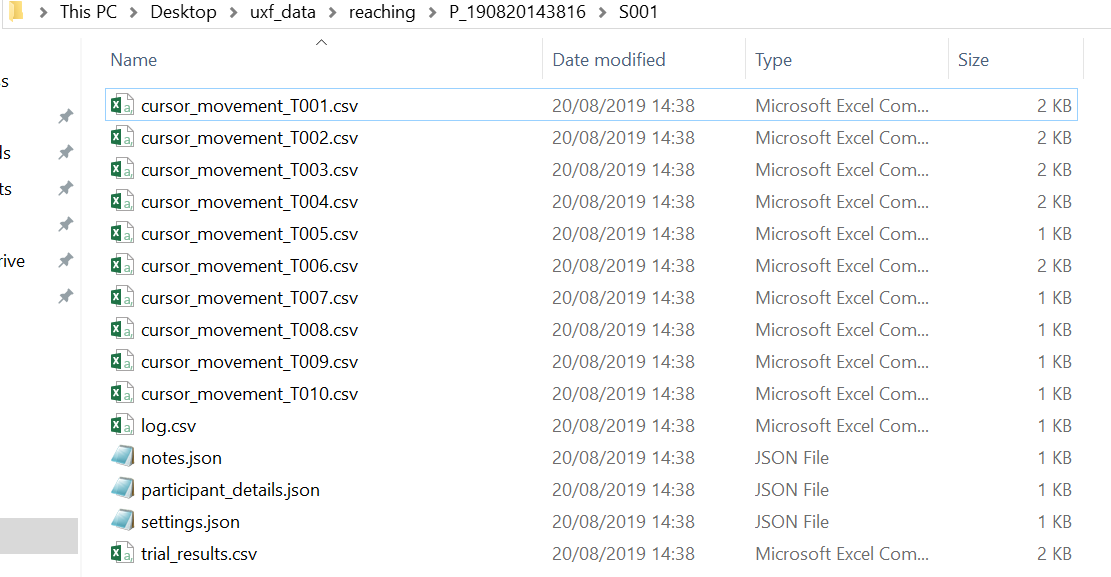
Final result
You should also notice UXF is now creating files in the output directory.
Play around…
Because we have built our task to be modular, we can do things like duplicate the Target we have created, and we will now have a choice of two targets. No changes to the code are needed.