uxf-tutorial
Part 1 - Setting up the scene
Create the project
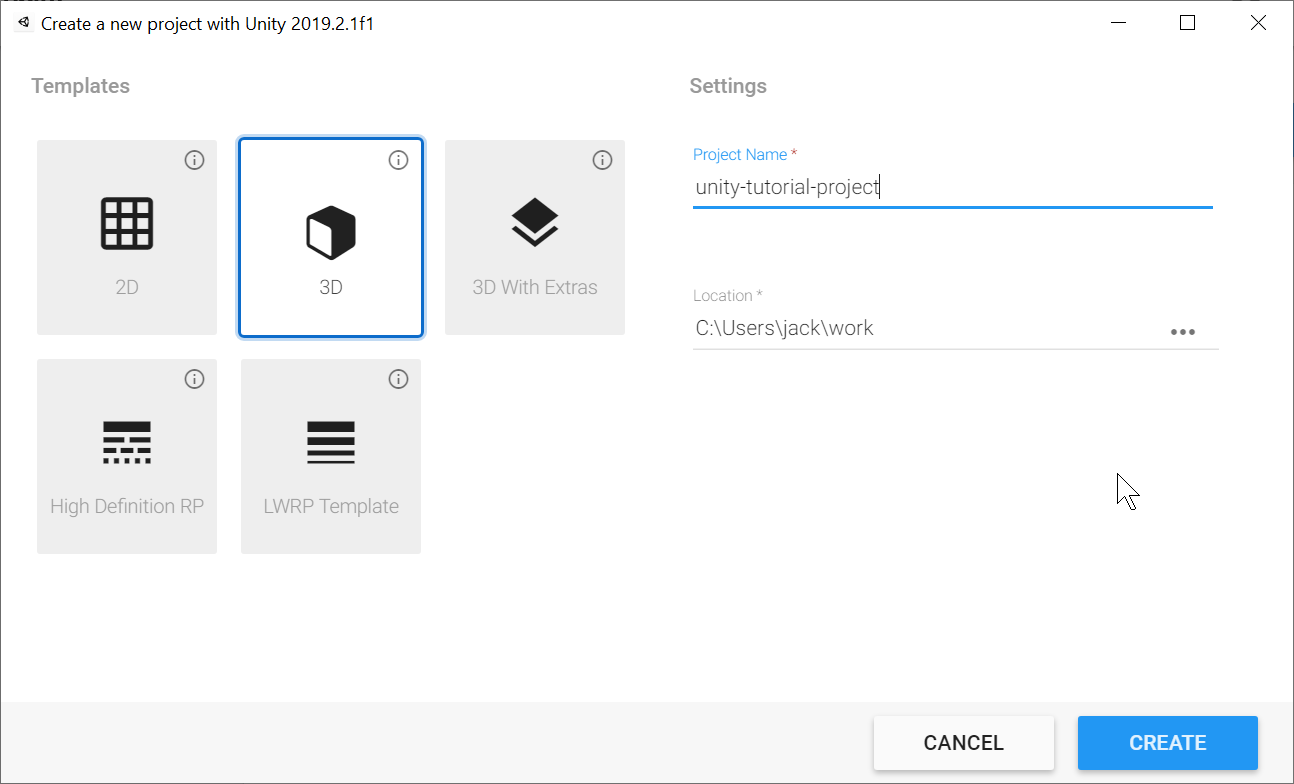
First we will create a project with the 3D template. You can do this through Unity Hub (a launcher which manages projects across different versions of Unity). A Unity project consists of a folder with many other folders inside.
The Unity Editor
The Unity Editor is where you can create & test your Unity project. It allows you to create scenes, which are infinite 3D (or 2D) spaces in which you can build your task. The most common use of scenes is to create discrete levels in a video game. For many experiments (such as this one), we only need a single scene, as everything happens in one place.
In Unity, for something to live in the scene it must be a part of a GameObject. A GameObject can represent anything, it could be a tree or a rock, a user interface element such as a button, or even just an object invisible to the user that performs some background processes.
A GameObject consists of Components. A Component adds functionality to your GameObject. Unity has many built-in components for making objects appear on the screen, physics, sound, animation and more. When we want to add custom functionality to a GameObject (e.g. making a scoreboard update when the user collects a reward) we need to write custom components (MonoBehaviours) using the C# programming language.
The Hierarchy
By default, the left side of the Unity Editor contains the Hierarchy, which is simply a list of all GameObjects present in the currently opened scene. The hierarchical nature comes from the parenting system, which allows GameObjects to be grouped together in a nested parent-child relationship. Parenting objects means children will follow their parent when they are moved, scaled, rotated or deleted.
The Project Window
At the bottom of the screen is the Project window. This displays all of your project’s files usable in the Unity Editor such as any 3D models, sounds, or images you have imported, as well as files you have created through Unity such as scenes, materials or prefabs. This window simply displays the /Assets folder of our project folder.
The Inspector
When we click on any object in our scene or assets, the inspector on the right side will display all of the properties of the object. If it is a GameObject, here you can change the name as well as add/remove/modify any components attached to the GameObject.
Game & Scene view
The Scene view (central panel) allows us to move around our scene and position objects freely. The Game view (2nd tab in the central panel) shows a live-view of what our game would look like when we run it. In VR, the Game view by default shows a preview of the what can be seen in the left eye of the HMD. We can press the Play button at the top to run our task, which will switch to the Game view. We can also change any variables and even create and move objects in the scene whilst the game is running (however all changes will be discarded when finishing playing).
Project organisation
It’s good practise to manage your Assets folder in sub-directories. First we will create the 3D Models, Materials, and Scripts folders just by right clicking in the Assets window (Create -> Folder). The Scenes folder should be already there on recent versions of Unity.
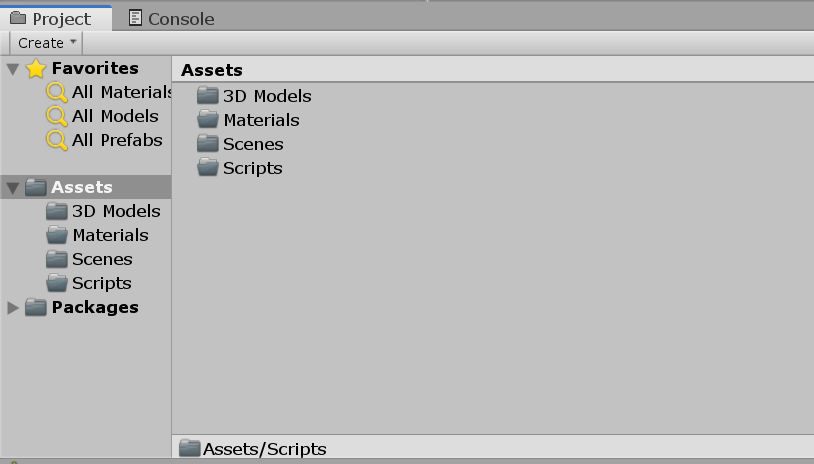
Let’s also rename our scene inside the Scenes folder from “SampleScene” to “Main”.
Creating your first GameObjects
We want to create a simple scene for our task to take place in. It will consist of a cursor (e.g. a sphere) which will be eventually controlled by the participant on a flat tabletop, with the goal of reaching towards a target object. We will use Unity’s built-in 3D primitives for some of these objects for now. All of these objects will live in a single scene.
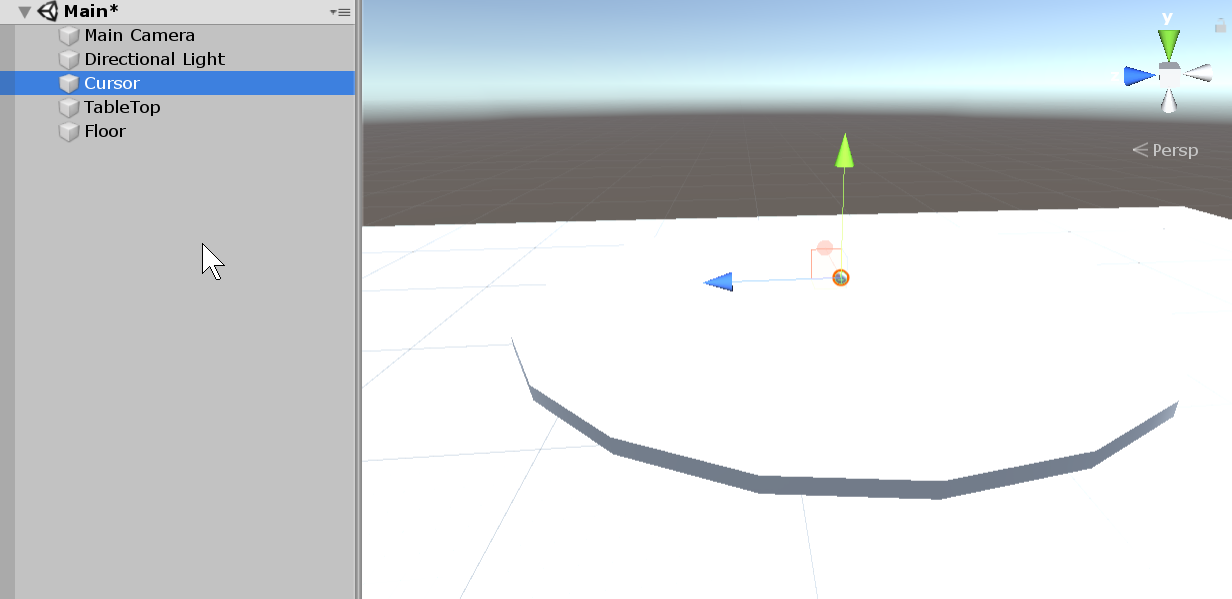
Right click in the Hierarchy go to 3D Objects and create a Sphere (for our cursor), a cylinder (for our tabletop), and a plane (for the floor). They will appear in the centre of wherever our Scene view is looking.
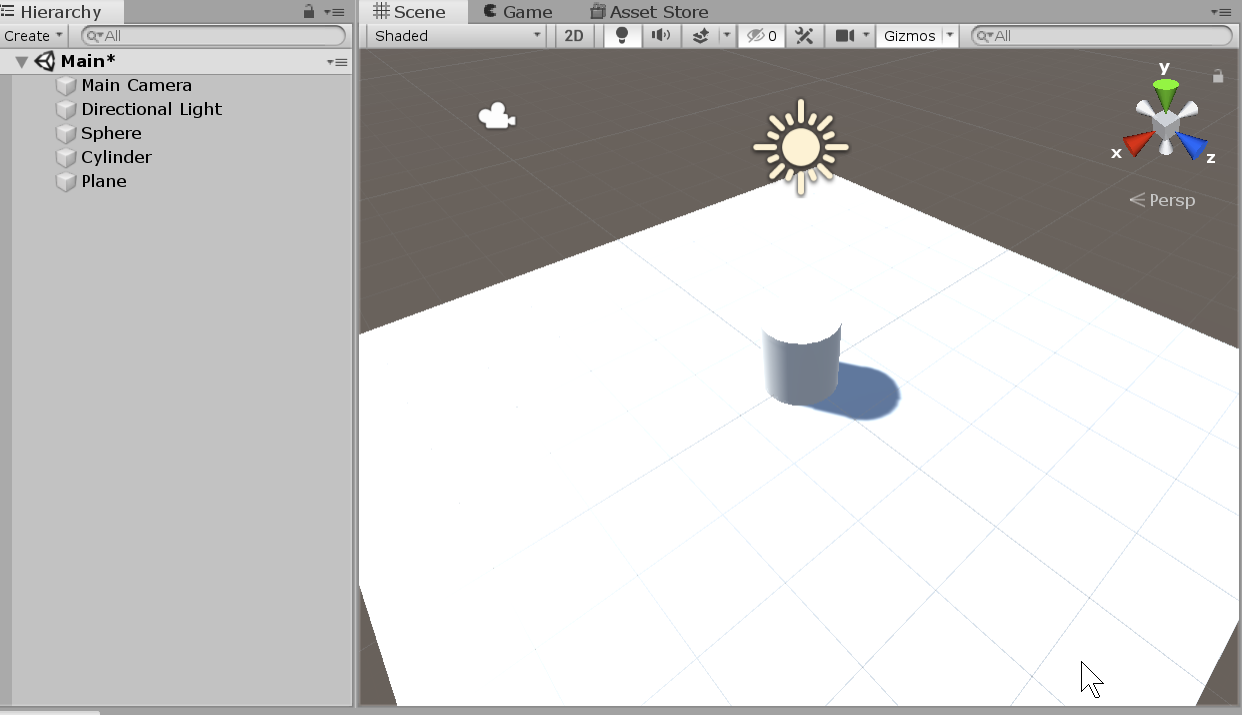
let’s move and scale these objects appropriate for our task. We can think of Unity’s units as being in meters for simplicity. To do this, click an object in the hierarchy and modify the transform component that appears in the inspector on the right side. I scaled the cursor to [0.02, 0.02, 0.02] (therefore 2cm diameter) and changed its position to [0, 1.02, 0] (102cm above the floor). For the tabletop, I changed its scale to [1, 0.01, 1] (2cm height since a cylinder by default has 2m height), and a position 1m above the floor ([0, 1, 0]). Move the plane to the origin [0, 0, 0] if it is not already, and leave its default scale [1, 1, 1] which is a size of 10m x 10m.
Notice I also renamed the GameObjects with more appropriate names.
Adding materials
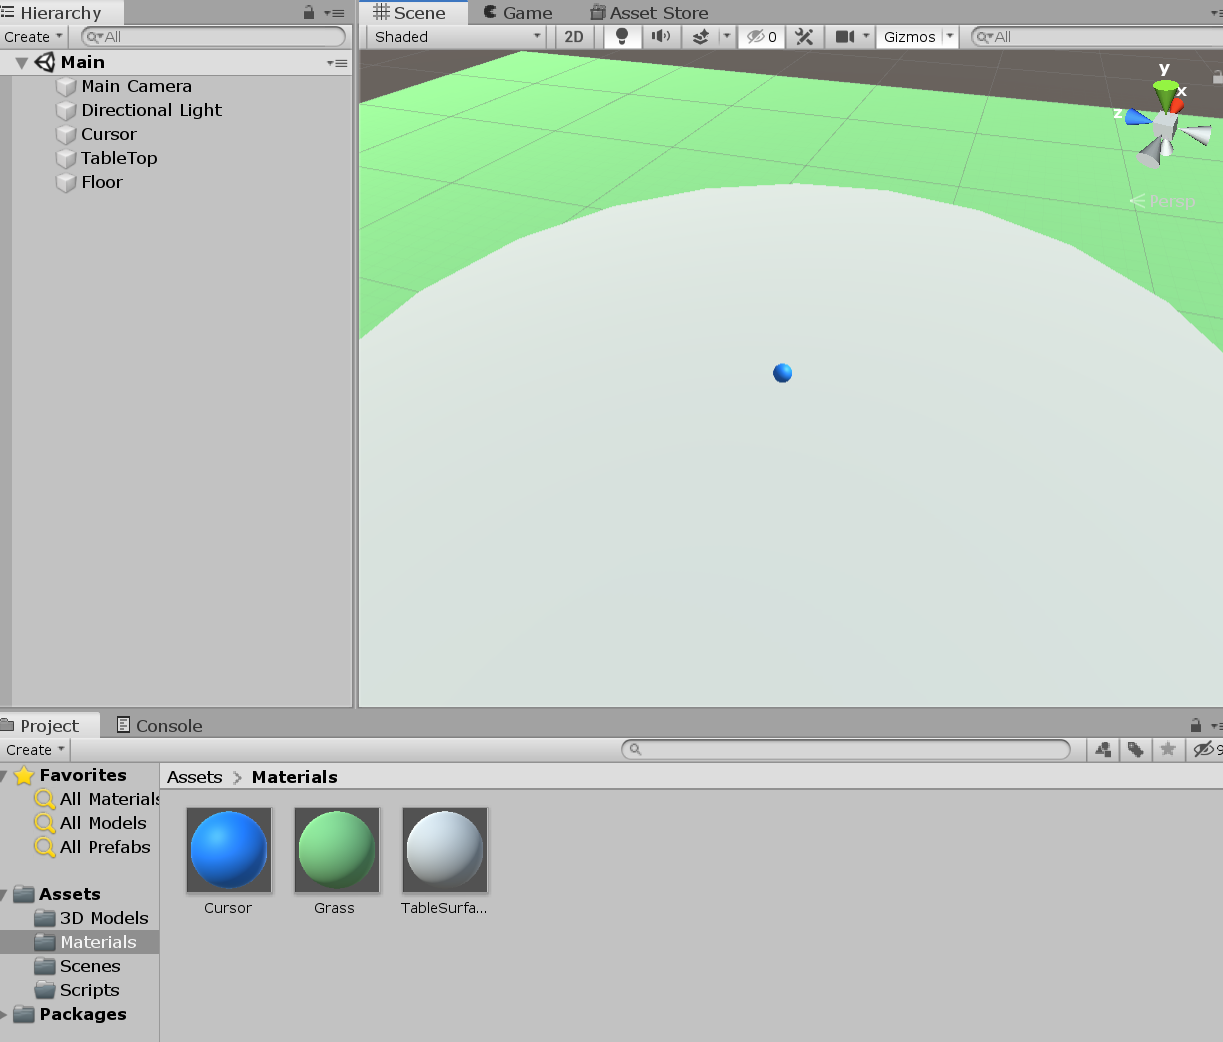
To make our objects have colour or textures, we will assign a material to each of them. Materials can be created and stored as assets, so they can be re-used across multiple objects if needed. We will create 3 materials with the standard shader, and configure them with appropriate colours for our task. In our Project panel at the bottom, navigate to your Assets/Materials folder, right click Create -> Material. Here’s an example for the floor (I made a green, non smooth material and called it Grass). Then just drag and drop the material file onto the object within the Scene view or Hierarchy.
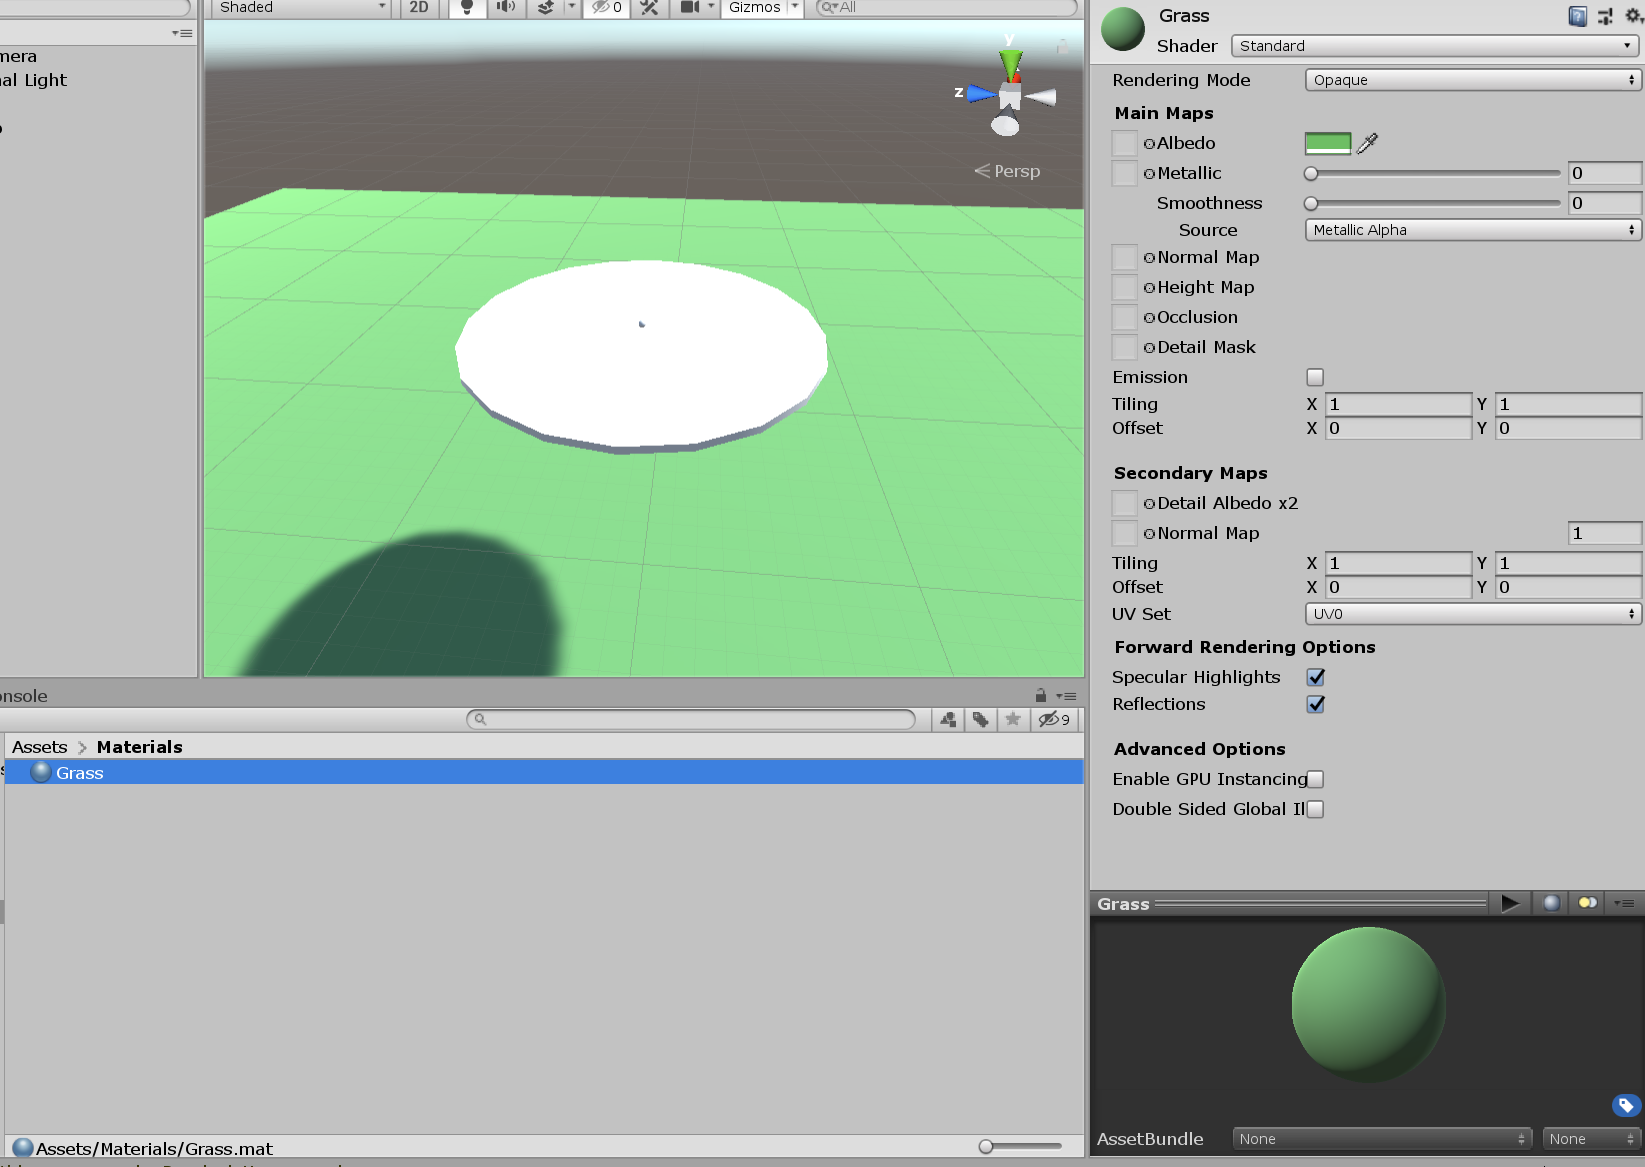
Now make two more for the cursor and tabletop and drag those on the corresponding objects too.
Shader vs Material vs Texture
- Shader: The piece of code that runs on our GPU that draws objects as a series of pixels on the screen. Unity has many built-in shaders that support realistic looking lighting such as specular lighting and reflections, so in 99% of cases you can use the standard shader for experiments.
- Material: An instance of a shader with a particular set of parameters such as the colour, smoothness, etc. A mesh renderer component attached to a GameObject requires a reference to a material so it known how it should be displayed.
- Texture: An image used within a material usually used to make an object look better than just a solid colour.
You can read Unity’s explanation here.
Adding a 3D model
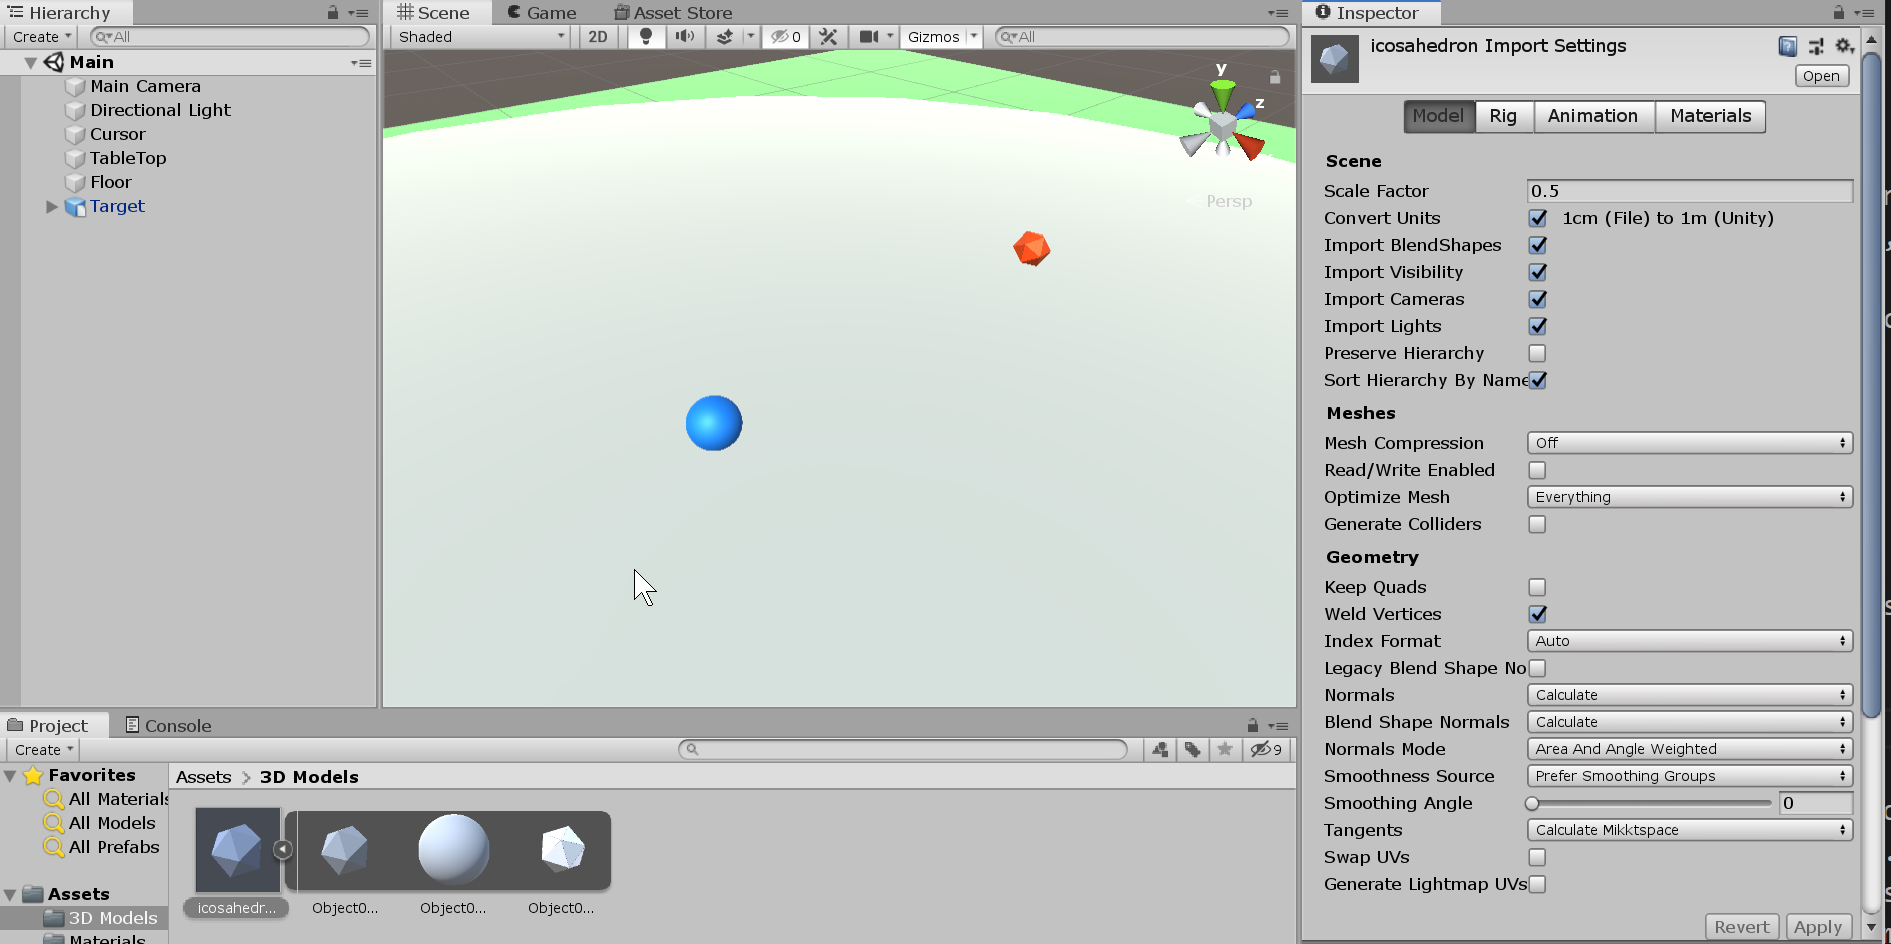
Finally, we will add one more object which will represent the Target. For this I will import a 3D model of a icosahedron. I found 3D model here - download and save to your Assets/3D Models folder (make sure it saves with .obj extension). When we drag it into out scene, we will find it is probably the wrong scale and looks blurry, but we can fix that.
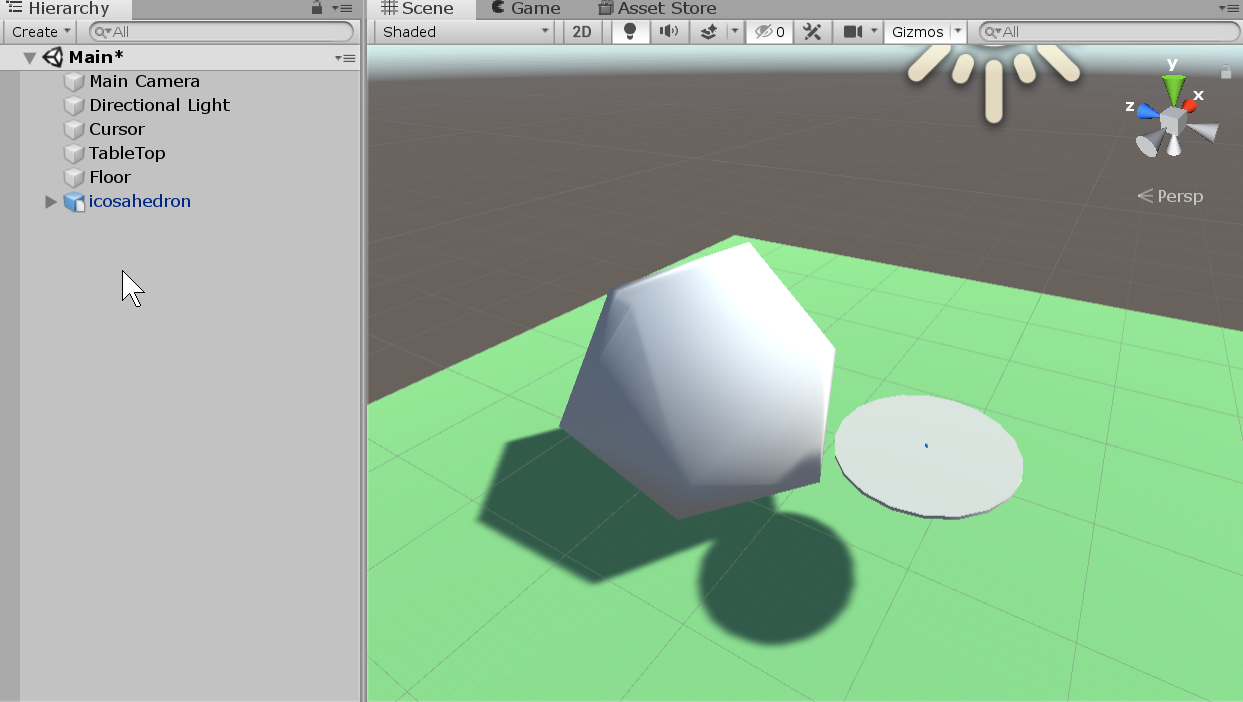
To fix the scale and the “blurriness”, click on the model in our Project viewer (not in the hierarchy) to modify the import settings in the inspector. It looks like it was made with a 1m radius (comparing the size to our tabletop) so we set the scale factor to 0.5 to make it have a 1m diameter (consistent with the Unity sphere used for our cursor). In this case I want the target to look geometric rather than smooth, so I changed the Normals to calculate and the Smoothing angle to 0. You can read more about meshes here. After clicking Apply, it looks much better. I then moved and scaled the icosahedron GameObject in our scene to position [0, 1.02, 0.2] and scale [0.02, 0.02, 0.02]. Last of all, rename it to Target, and create and add a material to it as we did above.