uxf-tutorial
Part 2 - Mouse control
Before we get to VR, we will start with a mouse controlled version as this is easier to demonstrate in a tutorial.
The Camera
First we need to set up the camera such to give us a view of the task. The camera is a GameObject that we can put in any position and orientation. What the camera sees is what we see in the Game view. Crucially in VR we use a special camera setup which is controlled by our head position, which we will get to later.
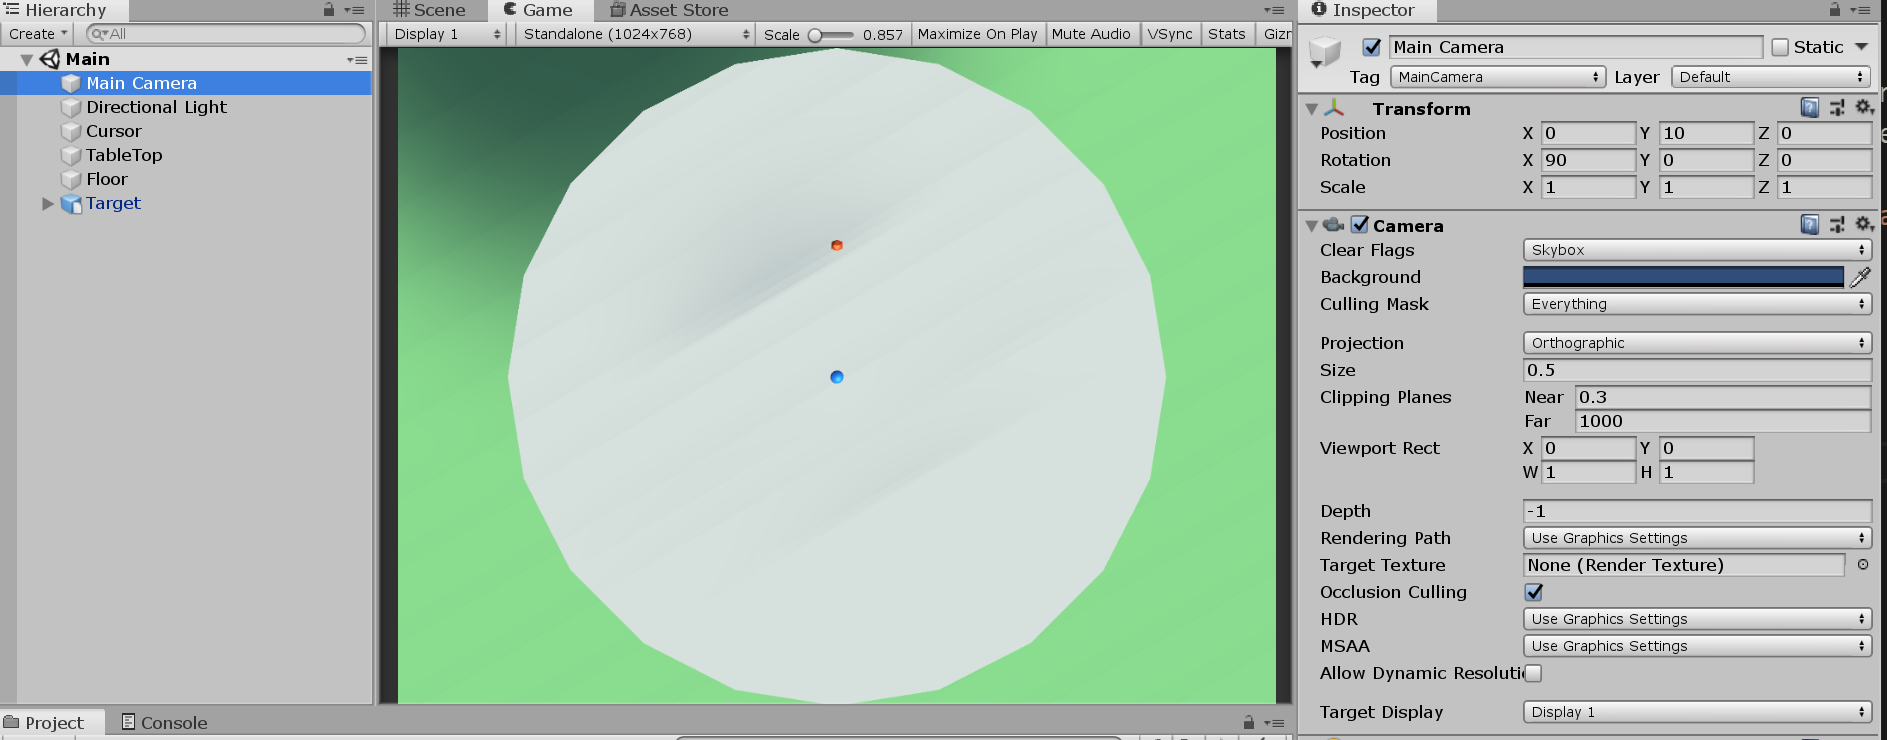
We want this simple mouse version to be a 2D task initially - so we will move the camera (called Main Camera by default) up above the scene (position = [0, 10, 0]) and pointing down (rotation = [90, 0, 0]). Now, notice the Camera component in the inspector when we click on our Main Camera. We will also change the projection to Orthographic to make the task flat and truly 2D (no perspective warping). (Read more about projection here.) I then changed the Size to 0.5 to essentially zoom in and show the entire table. Switch to the Game view to preview what the camera sees.
Fixing shadows
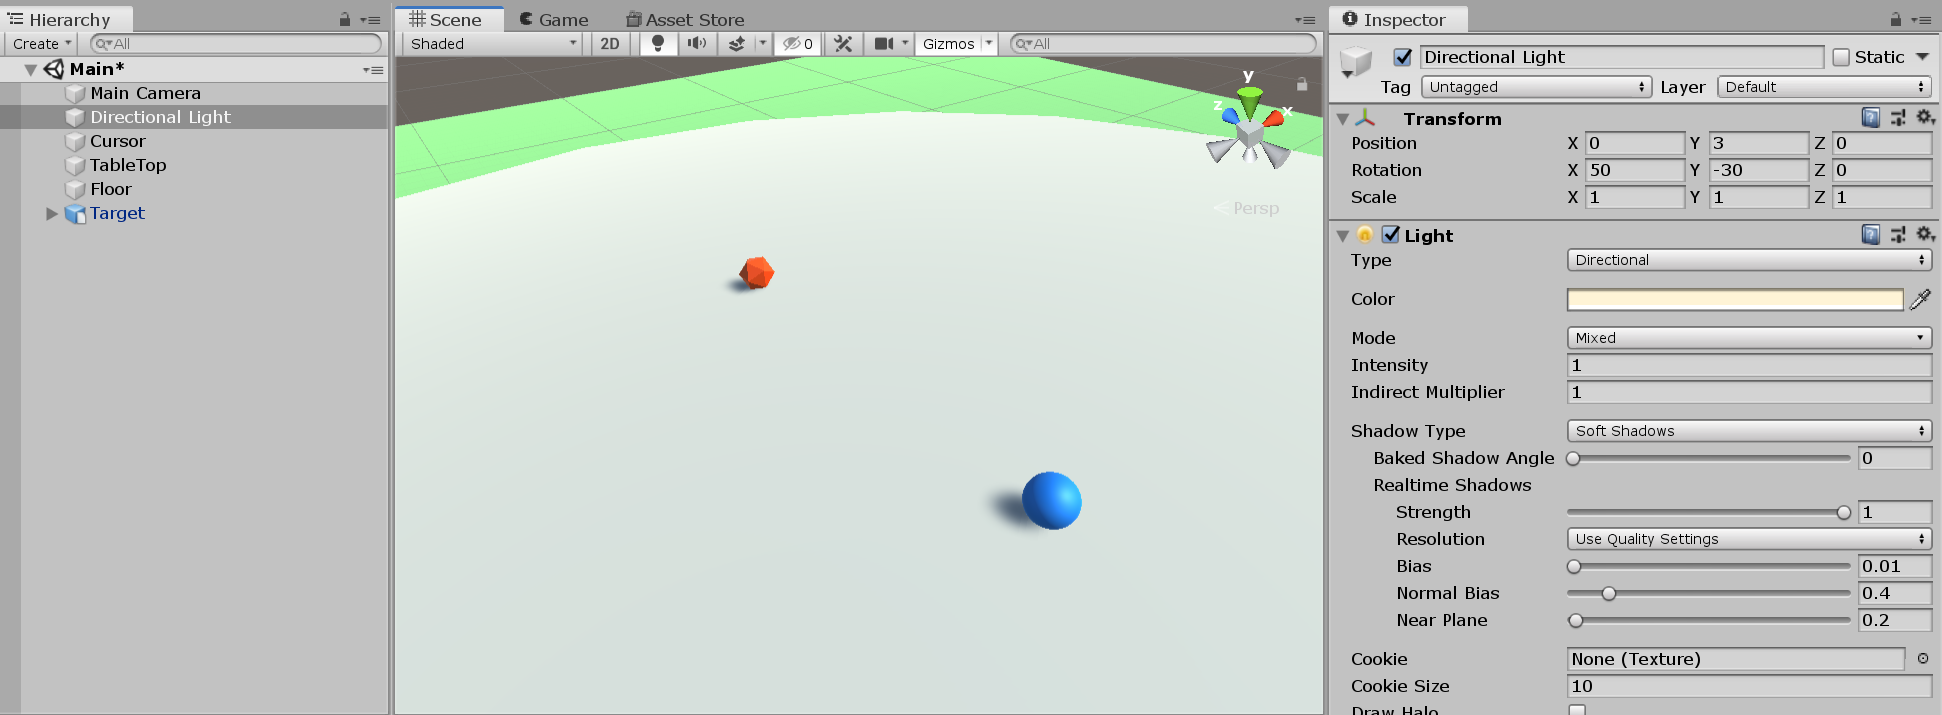
Before we continue developing the task we will fix the shadows. You’ll notice above we get some banding effects in the shadows and we can’t see any shadows for the cursor and target. First we can increase the quality of the shadows by reducing the shadow distance. Unity has a certain budget for shadows and it useless us having shadows rendered 100s of meters away when all of our objects will be within a few meters at most. Go to the top menu bar, Edit -> Player Settings -> Quality and change the shadow distance. A value of 20 looked OK to me. Then, to fix the banding we have to tweak the settings of the light we have positioned by default in our scene. Click the Directional Light in the hierarchy to a very low number (I used 0.01). Below is what the scene looked like afterwards.
Creating the mouse control script
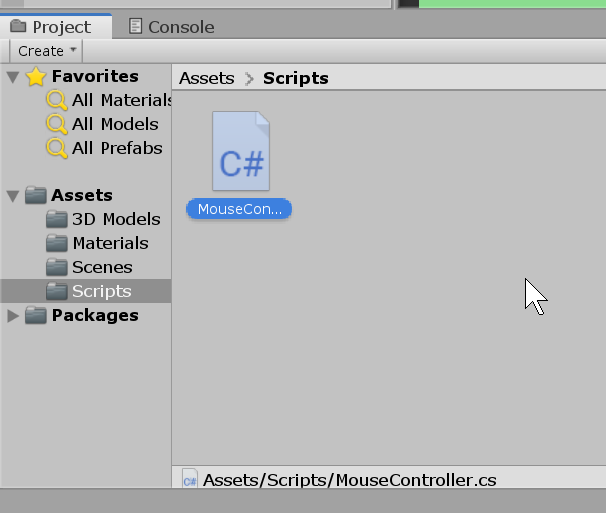
Now we can move on to creating our first script. Scripts are custom components that are attached to GameObjects to give them new behaviours. We write our scripts in the C# language using an editor or choice (Visual Studio is the default bundled with Unity). In our Scripts folder in our project window, right click Create -> C# Script and name it MouseController. It will create a C# file and fill it with a template to get you started.
Notes on scripts
Before continuing you should have a basic understanding of the role of scripting in Unity as well as an understanding of C# syntax.
A script holds a single class - that is a ‘type’ of component that can have any number of ‘instances’ in our scene. For example we could could create a script that makes an object change to a random colour, and attach that same script to multiple objects in our scene (in effect creating multiple instances of the class we have created). Of course, modifying the underlying script will mean all objects that have that component attached to them will receive those changes. It is a good idea to have many small, specialised scripts over few large, general scripts. That way, behaviour is modular and can be easily enabled/disabled as we will see later. Read about scripts here.
Convention in Unity is to name scripts with CamelCase e.g. MouseController, FeedbackManager or TextColourChanger. The name of the script must match the name of the class it contains.
Moving an object with the mouse
We are now going to write the script that allows us to control an object with our mouse. Note that this is purposely unspecific, i.e. this does not control our Cursor object specifically, but it will in-fact allow us to move any object that we attach this script to. (Remember - scripts are all about adding behaviour to objects.) Double click the MouseController script we just created to launch your script editor.
The script will contain some code already, something like this:
using System.Collections;
using System.Collections.Generic;
using UnityEngine;

public class MouseController : MonoBehaviour
{
    // Start is called before the first frame update
    void Start()
    {

    }

    // Update is called once per frame
    void Update()
    {

    }
}
The Unity engine (and all graphical software) presents a series of still images (frames) to the user to give the impression of movement. On a PC that will probably be 60Hz depending on your monitor, or in VR, 80, 90 or even 120Hz depending on the HMD you use. Because we want the Cursor object to be following our mouse at all times, all we have to do is calculate and specify the position of Cursor on each frame. We do that by putting code in the special “Update” function in Unity, which is called once per frame.
The first thing we have to do is grab some references to objects in our scene that we will need data from. We need the camera - because the position and orientation of the camera will affect how the mouse position is projected into 3D space. So we create a variable - a public Camera - I called it projectionCamera. Variables that are accessible outside of the script need to be specified outside any function (e.g. above Start()).
Inside the Update() function, we will access the mouse position using the Unity Input module. Then we use our projectionCamera to project the mouse position (given to us in Pixels) into world coordinates (in meters). We also need to specify how far from the camera the cursor should be placed. We want it to be on the tabletop, so we have to reset the calculated y position to its original position. (I also deleted the Start function as we don’t need to do anything special regarding the mouse control when we start the task.)
using System.Collections;
using System.Collections.Generic;
using UnityEngine;

public class MouseController : MonoBehaviour
{
    // reference to the camera we project from
    public Camera projectionCamera;

    // Update is called once per frame
    void Update()
    {
        // get mouse position in pixels
        Vector3 mousePos = Input.mousePosition;

        // calculate world position of mouse
        Vector3 worldPos = projectionCamera.ScreenToWorldPoint(new Vector3(mousePos.x, mousePos.y, 0));

        // fix the height of our calculated position to match the current y position of the object
        // that way it moves only in 2D (XZ plane)
        worldPos.y = transform.position.y;

        // update position of cursor to our newly calculated position
        transform.position = worldPos;
    }
}
The last thing to do is attach our script to our Cursor object. We can do this a few ways, by just dragging the script to our Cursor in the hierarchy, or by clicking on the Cursor and selecting “Add Component” at the bottom of the inspector. Remember we created a public variable called projectionCamera, which we are using to specify which camera we should project the mouse position from. This has now been ‘serialized’ by Unity and is shown in the inspector. That means we can assign its value by drag-and-drop. We only have one camera, but its possible in Unity to have many cameras, so we need to tell it which one we want to use. You can do this by dragging across the Main Camera GameObject from the hierarchy to the Projection Camera field in the inspector of the MouseController. (Alternatively, press the circle to the right of the field to select the Main Camera from a list). It should now look like this:
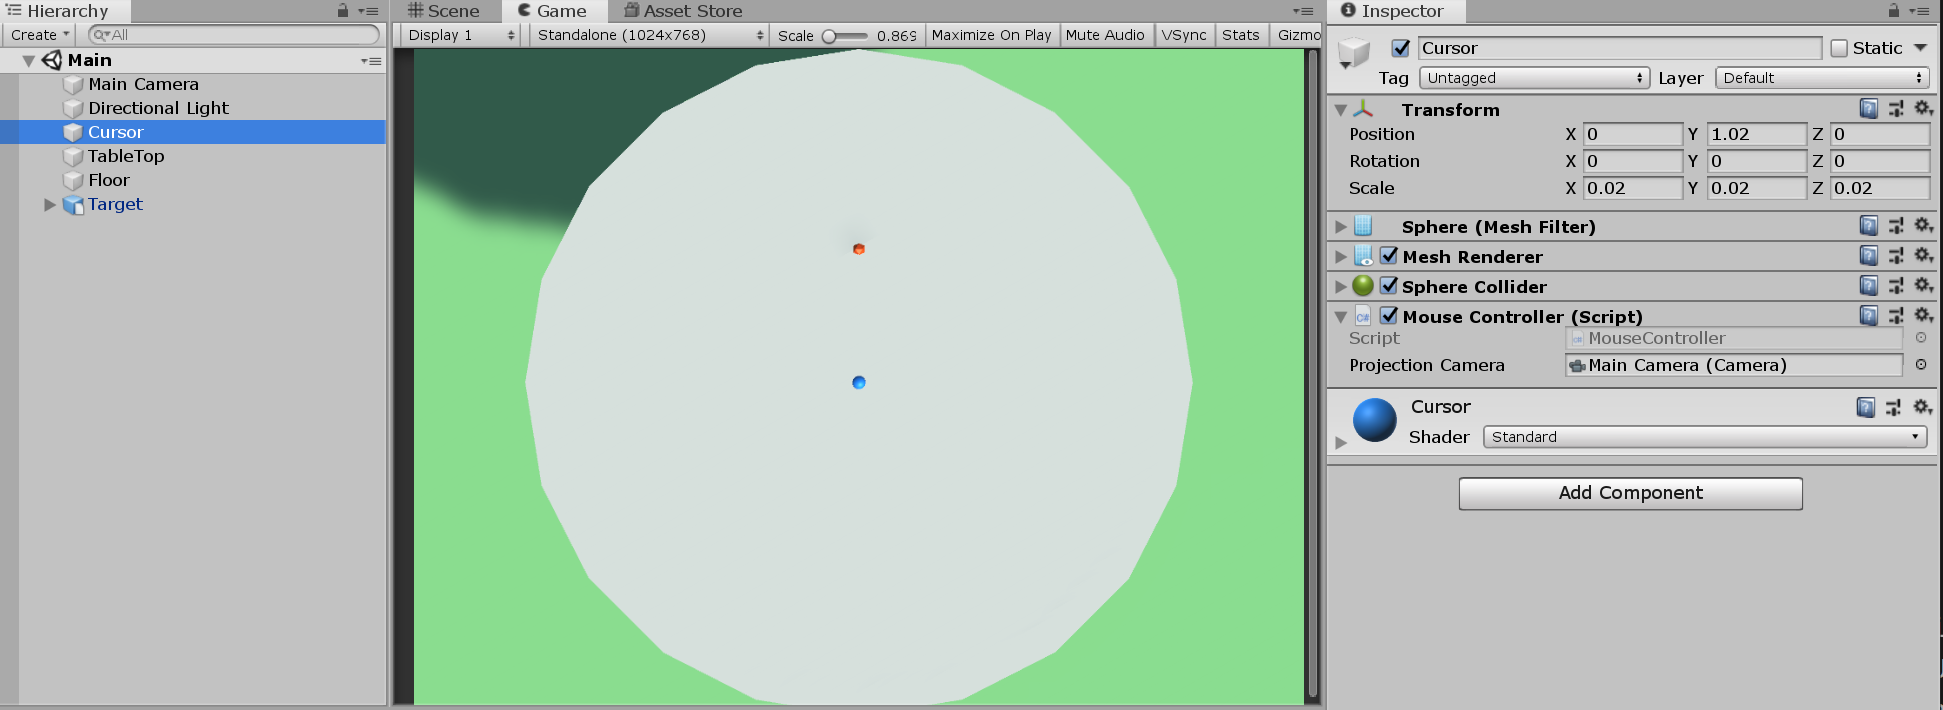
Press the Play button to try it out!