uxf-tutorial
Part 14 - Table height adjustment
A common useful feature for VR experiments involves adjustment of the scene to fit the position and size of the equipment being used, or even to accommodate for different participant heights. We will add functionality that performs these operations.
Parenting to one GameObject
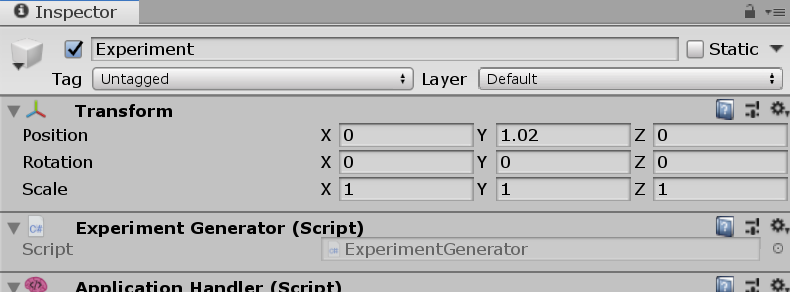
First, we need to group all of our task GameObjects into one parent GameObject. We already have our GameObject called “Experiment”. We will put all of the elements of our task within this GameObject, so that when we move the “Experiment” up or down, it will also move the Cursor, Target, Instructions, etc. First lets move the Experiment GameObject to the current height of our Cursor on the tabletop (y = 1.02m).
Now drag all of the task GameObjects to be children of the Experiment GameObject.
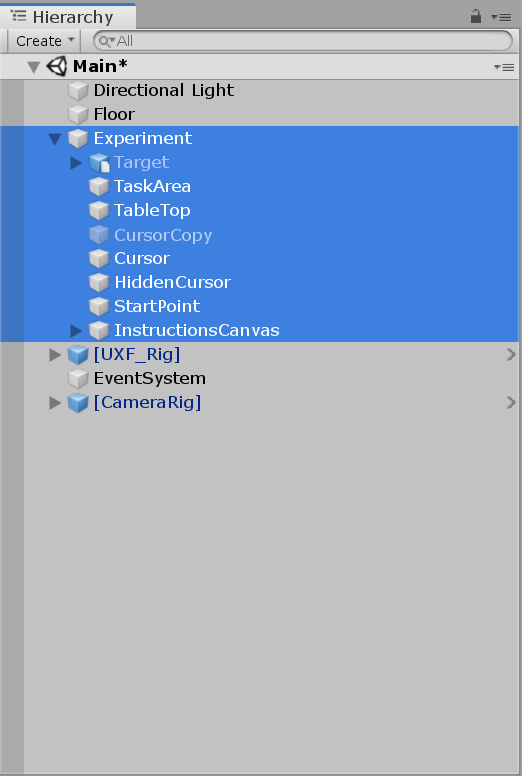
Notice the inspector shows the local position of GameObjects. (The cursor should now display a y position of 0.) Its important to note the difference between (global) position and local position.
Now, we can very easily move the Experiment GameObject up and down (just by dragging, even whilst it’s running) and everything should still work!
Moving on user input
We will now write a simple script that moves the Experiment GameObject up and down just with some Keyboard presses. This is just standard Unity work, nothing to do with UXF here. We will call this script PositionAdjuster and attach it to the Experiment GameObject. We just check for Keyboard input on each frame and adjust the position if a button is pressed. (See Unity Input.)
Some of these scripts can be easily re-used for other projects because of their modularity.
using System.Collections;
using System.Collections.Generic;
using UnityEngine;

public class PositionAdjuster : MonoBehaviour
{
    // amount by which each button press changes the position by
    public float increment = 0.01f;

    // keys on the keyboard we wish to use for adjusting
    public KeyCode upKey;
    public KeyCode downKey;

    void Update()
    {
        if (Input.GetKeyDown(upKey))
        {
            Vector3 newPosition = transform.position + Vector3.up * increment;
            transform.position = newPosition;
        }

        if (Input.GetKeyDown(downKey))
        {
            Vector3 newPosition = transform.position + Vector3.down * increment;
            transform.position = newPosition;
        }
    }
}
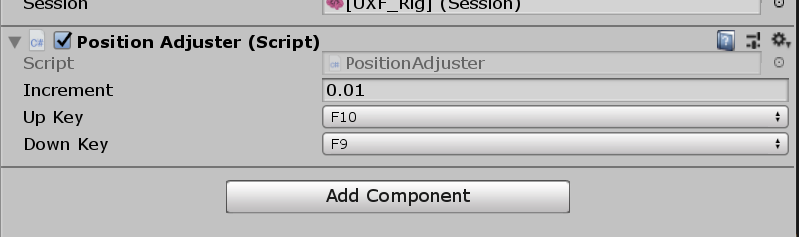
The public KeyCode fields allow us to select the keys we wish to use for moving the Experiment up or down. I selected F9/F10. (You probably want to avoid A-Z, 0-9 keys because you may use the keys for typing the participant ID and accidentally move the Experiment.)
We will implement a bonus feature which saves the height of the GameObject using Unity PlayerPrefs - so even when we close and re-open the task, we won’t have to re-adjust the height. Don’t get the Unity PlayerPrefs system confused with the UXF Settings system, even though the method names are similar.
To do this, we just load and apply the height on start, and update the PlayerPref each time we modify the height.
using System.Collections;
using System.Collections.Generic;
using UnityEngine;

public class PositionAdjuster : MonoBehaviour
{
    // amount by which each button press changes the position by
    public float increment = 0.01f;

    // keys on the keyboard we wish to use for adjusting
    public KeyCode upKey;
    public KeyCode downKey;

    void Start()
    {
        if (PlayerPrefs.HasKey("experiment_height"))
        {
            Vector3 newPosition = transform.position;
            newPosition.y = PlayerPrefs.GetFloat("experiment_height");
            transform.position = newPosition;
        }
    }

    void Update()
    {
        if (Input.GetKeyDown(upKey))
        {
            Vector3 newPosition = transform.position + Vector3.up * increment;
            transform.position = newPosition;
            PlayerPrefs.SetFloat("experiment_height", transform.position.y);
        }

        if (Input.GetKeyDown(downKey))
        {
            Vector3 newPosition = transform.position + Vector3.down * increment;
            transform.position = newPosition;
            PlayerPrefs.SetFloat("experiment_height", transform.position.y);
        }
    }
}
With this the experimenter can manually adjust the height when setting up the experiment.
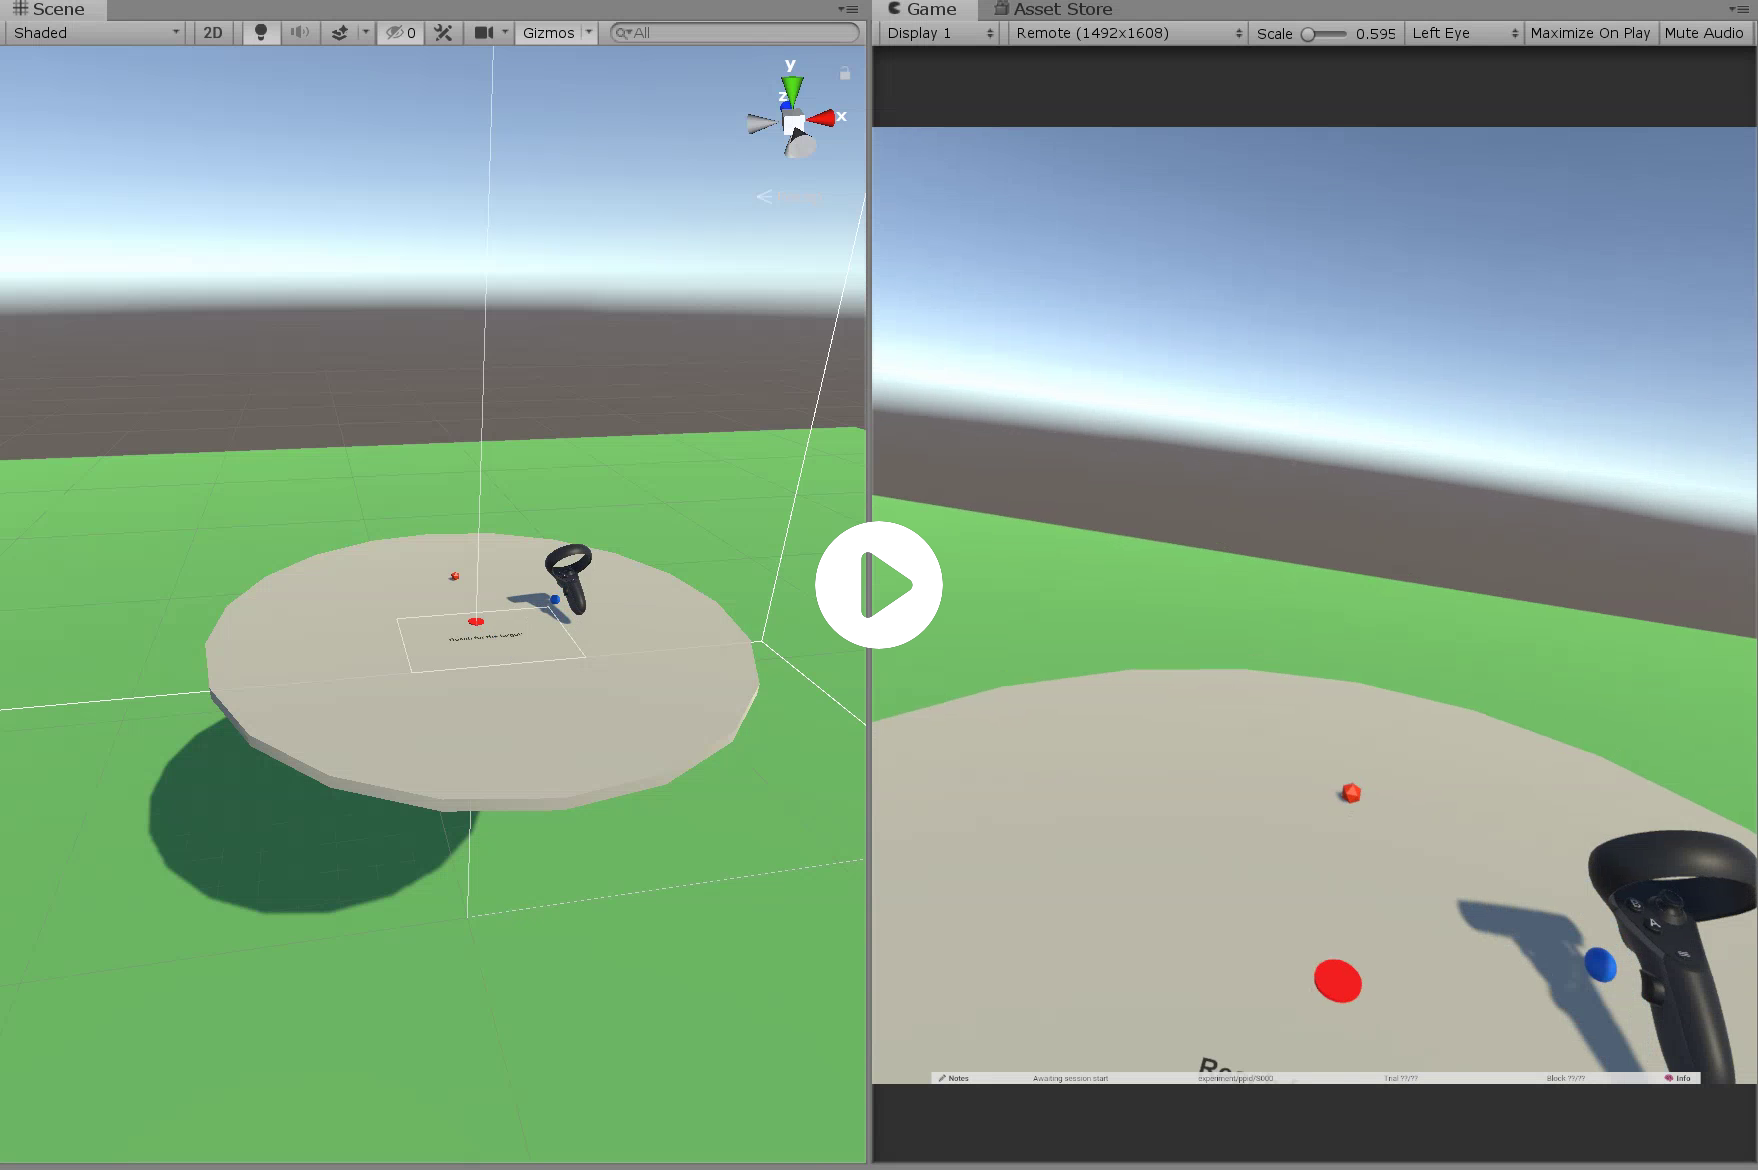
Test it
Here I show the scene as well as first person view.
Extensions
For more functionality you could repeat this process with x, z position and even y rotation - that way you could have full control over the position of the table. However this is not usually necessary since the experimenter can re-run the SteamVR or Oculus room setup to select the origin and direction of the play space.